Chocolate-dipped cookies, natural dying and our italian linen arrives

Recipe for Anzakkies
These are a variation of traditional Anzac biscuits
Preheat oven to 180c and line 2 trays with baking paper
Ingredients
1 cup spelt flour (or plain flour)
1 cup rolled oats
1 cup desiccated coconut (or a mix of desiccated coconut and a handful of chopped almonds)
1/2 cup firmly packed brown sugar (or can use coconut sugar)
125 gms butter
2 tablespoons rice syrup (found in a health food store)
2 tablespoons water
1/2 teaspoon bicarbonate of soda
Block of dark chocolate (78% is good)
Instructions
Combine flour oats coconut and sugar in a large bowl and whisk together and break down lumps
Over medium heat, in a small saucepan, combine butter rice syrup and water and stir till it melts and the mixture is smooth. Now stir in the bicarbonate of soda
Add the flour mixture to the butter mixture and stir well till combined - (you can add some chopped almonds at this point and stir through.) If it feels a little dry, you may want to add another tablespoon of rice malt and / or 1 tablespoon of water.
Make tablespoon-sized balls on your baking tray and leave about 5cm between them. Flatten with a fork to about 1 cm high.
Bake till golden brown (you can carefully check underneath to see if it’s brown) about 15 - 20 minutes
Set aside to cool
In a bowl over a saucepan of simmering water break up the chocolate and stir with a spatula till melted through.
When the biscuits are cool drizzle the chocolate on top or tip halfway in the chocolate.
Then place in the fridge to allow the chocolate to set


our limited edition linen range is here
We’re thrilled that our new fabric has arrived in time for pre christmas.

Gum Nutty on Italian linen - sewn into a 65 x 65cm cushion cover with invisible zip and piping.

“Weave” Design
on Italian linen
Available per metre - 1400mm wide

“Gum Nutty”
Design
on Italian linen
Available per metre - 1400mm wide

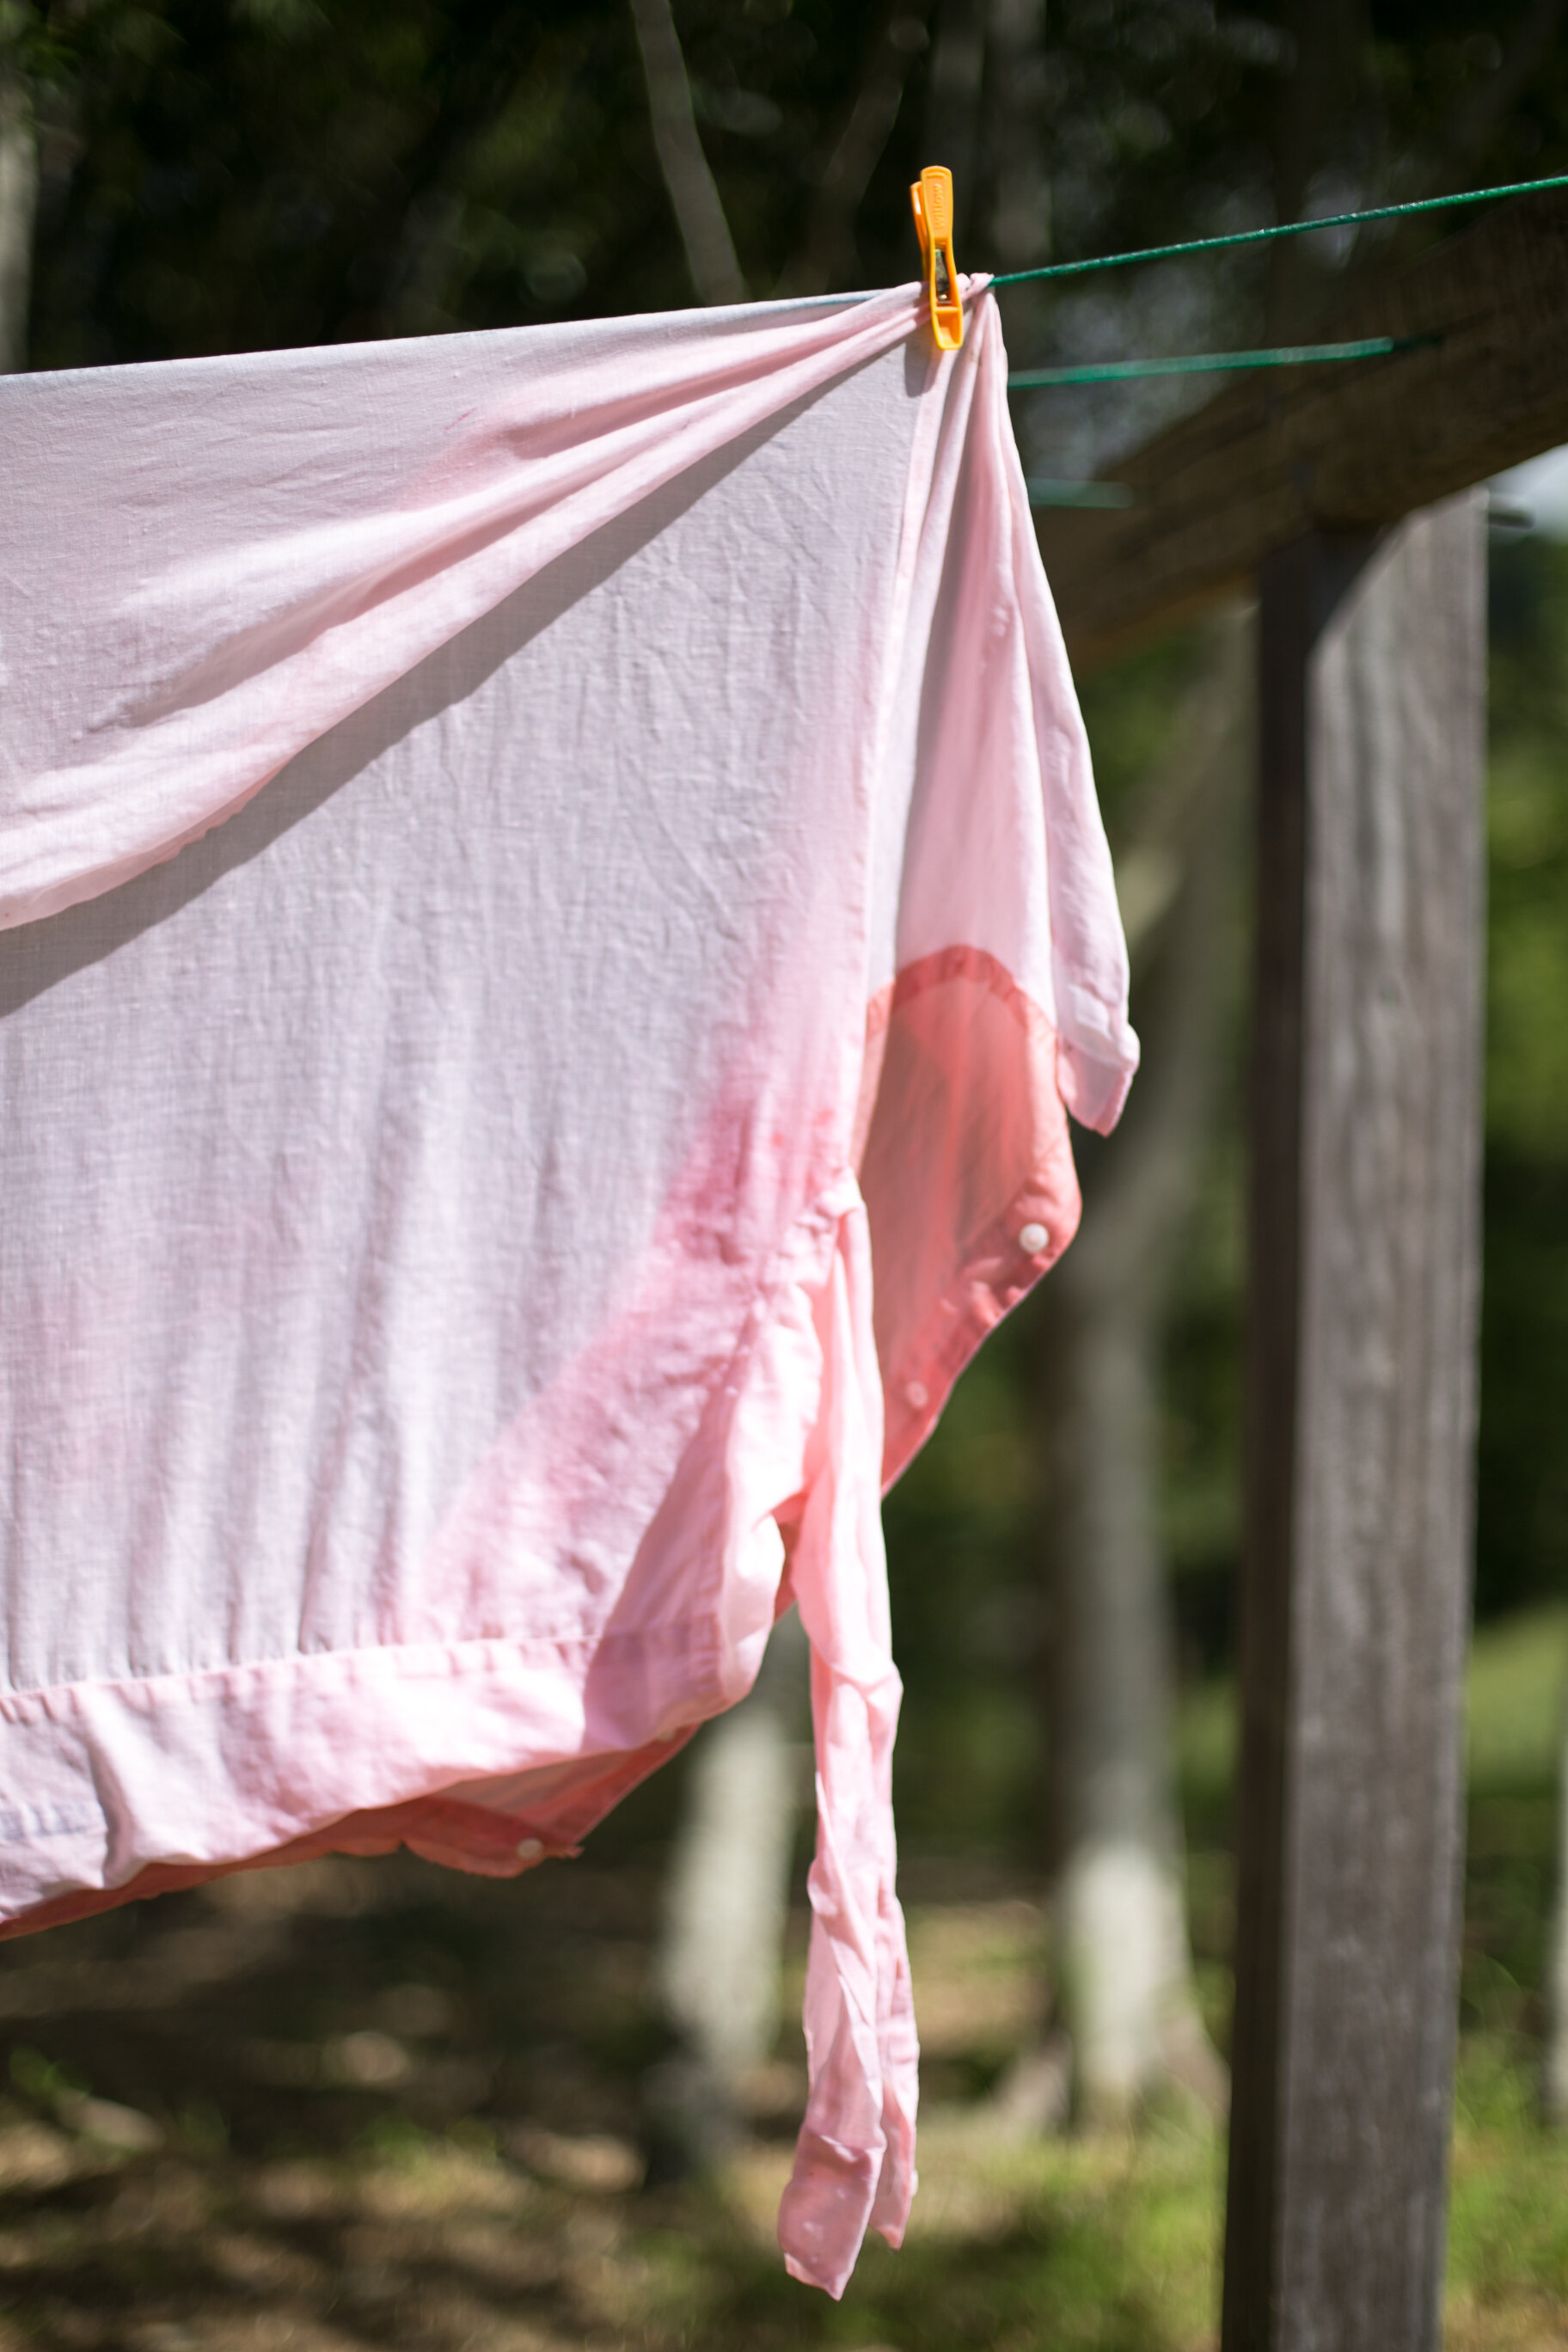
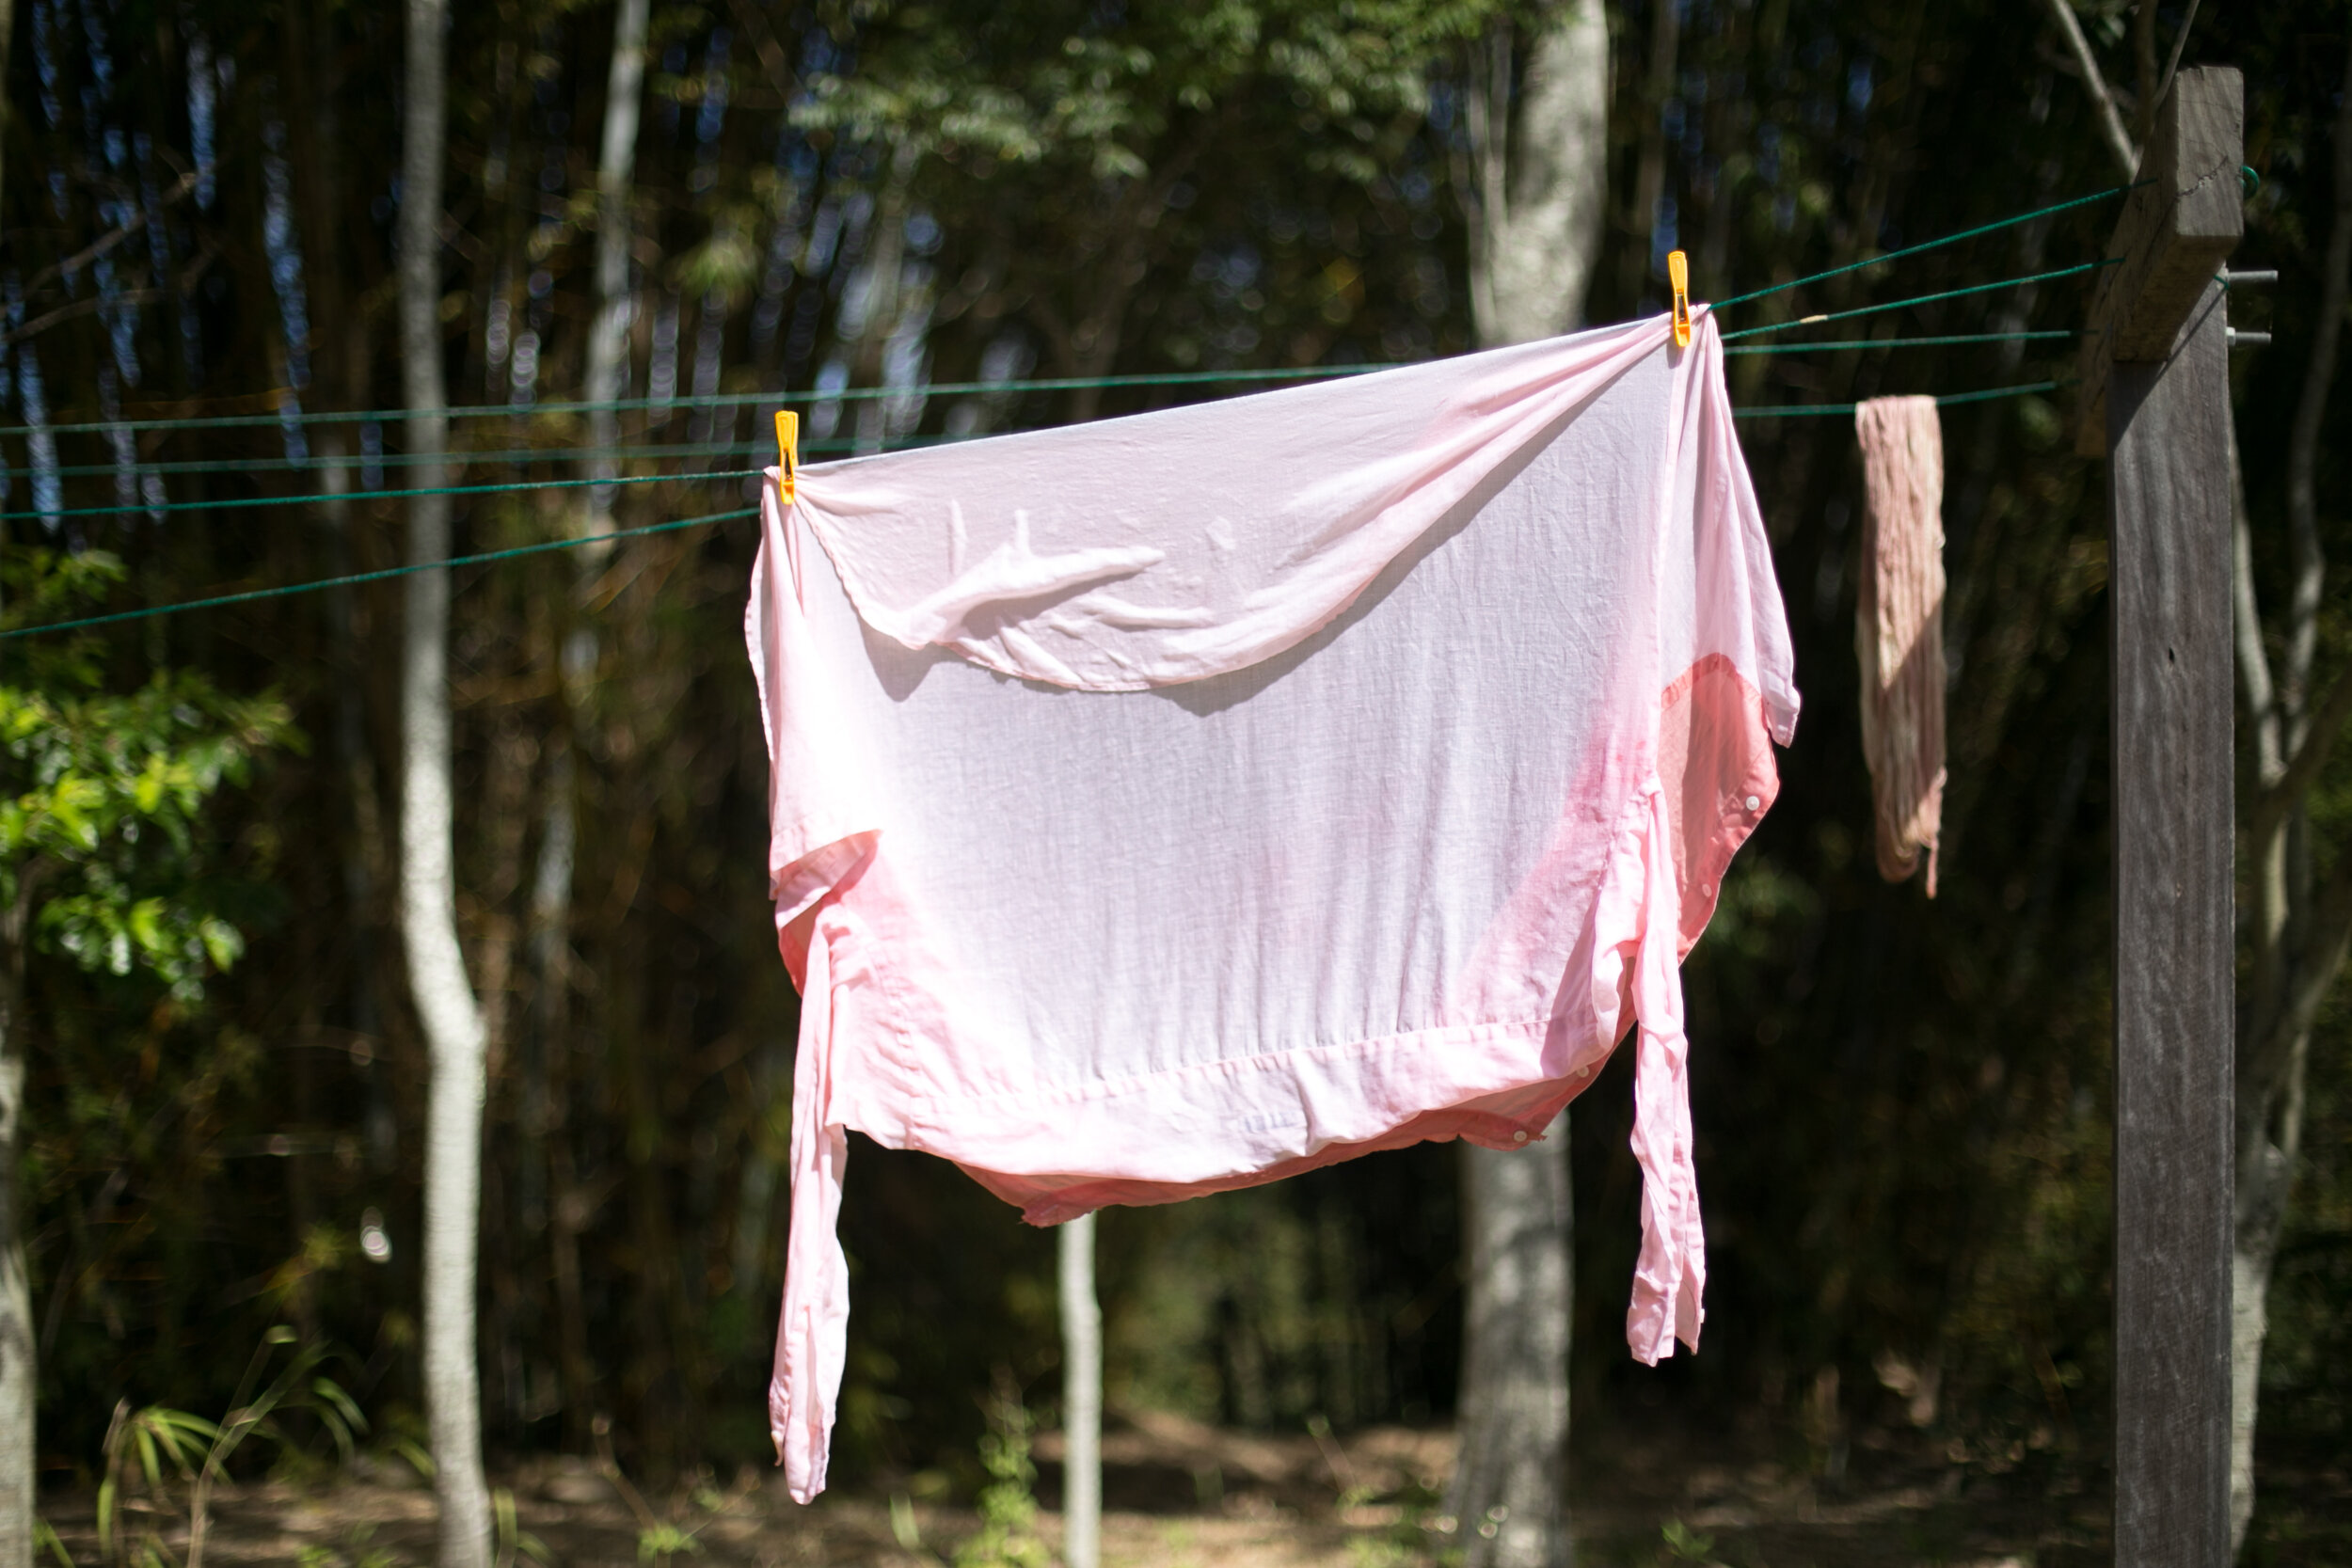
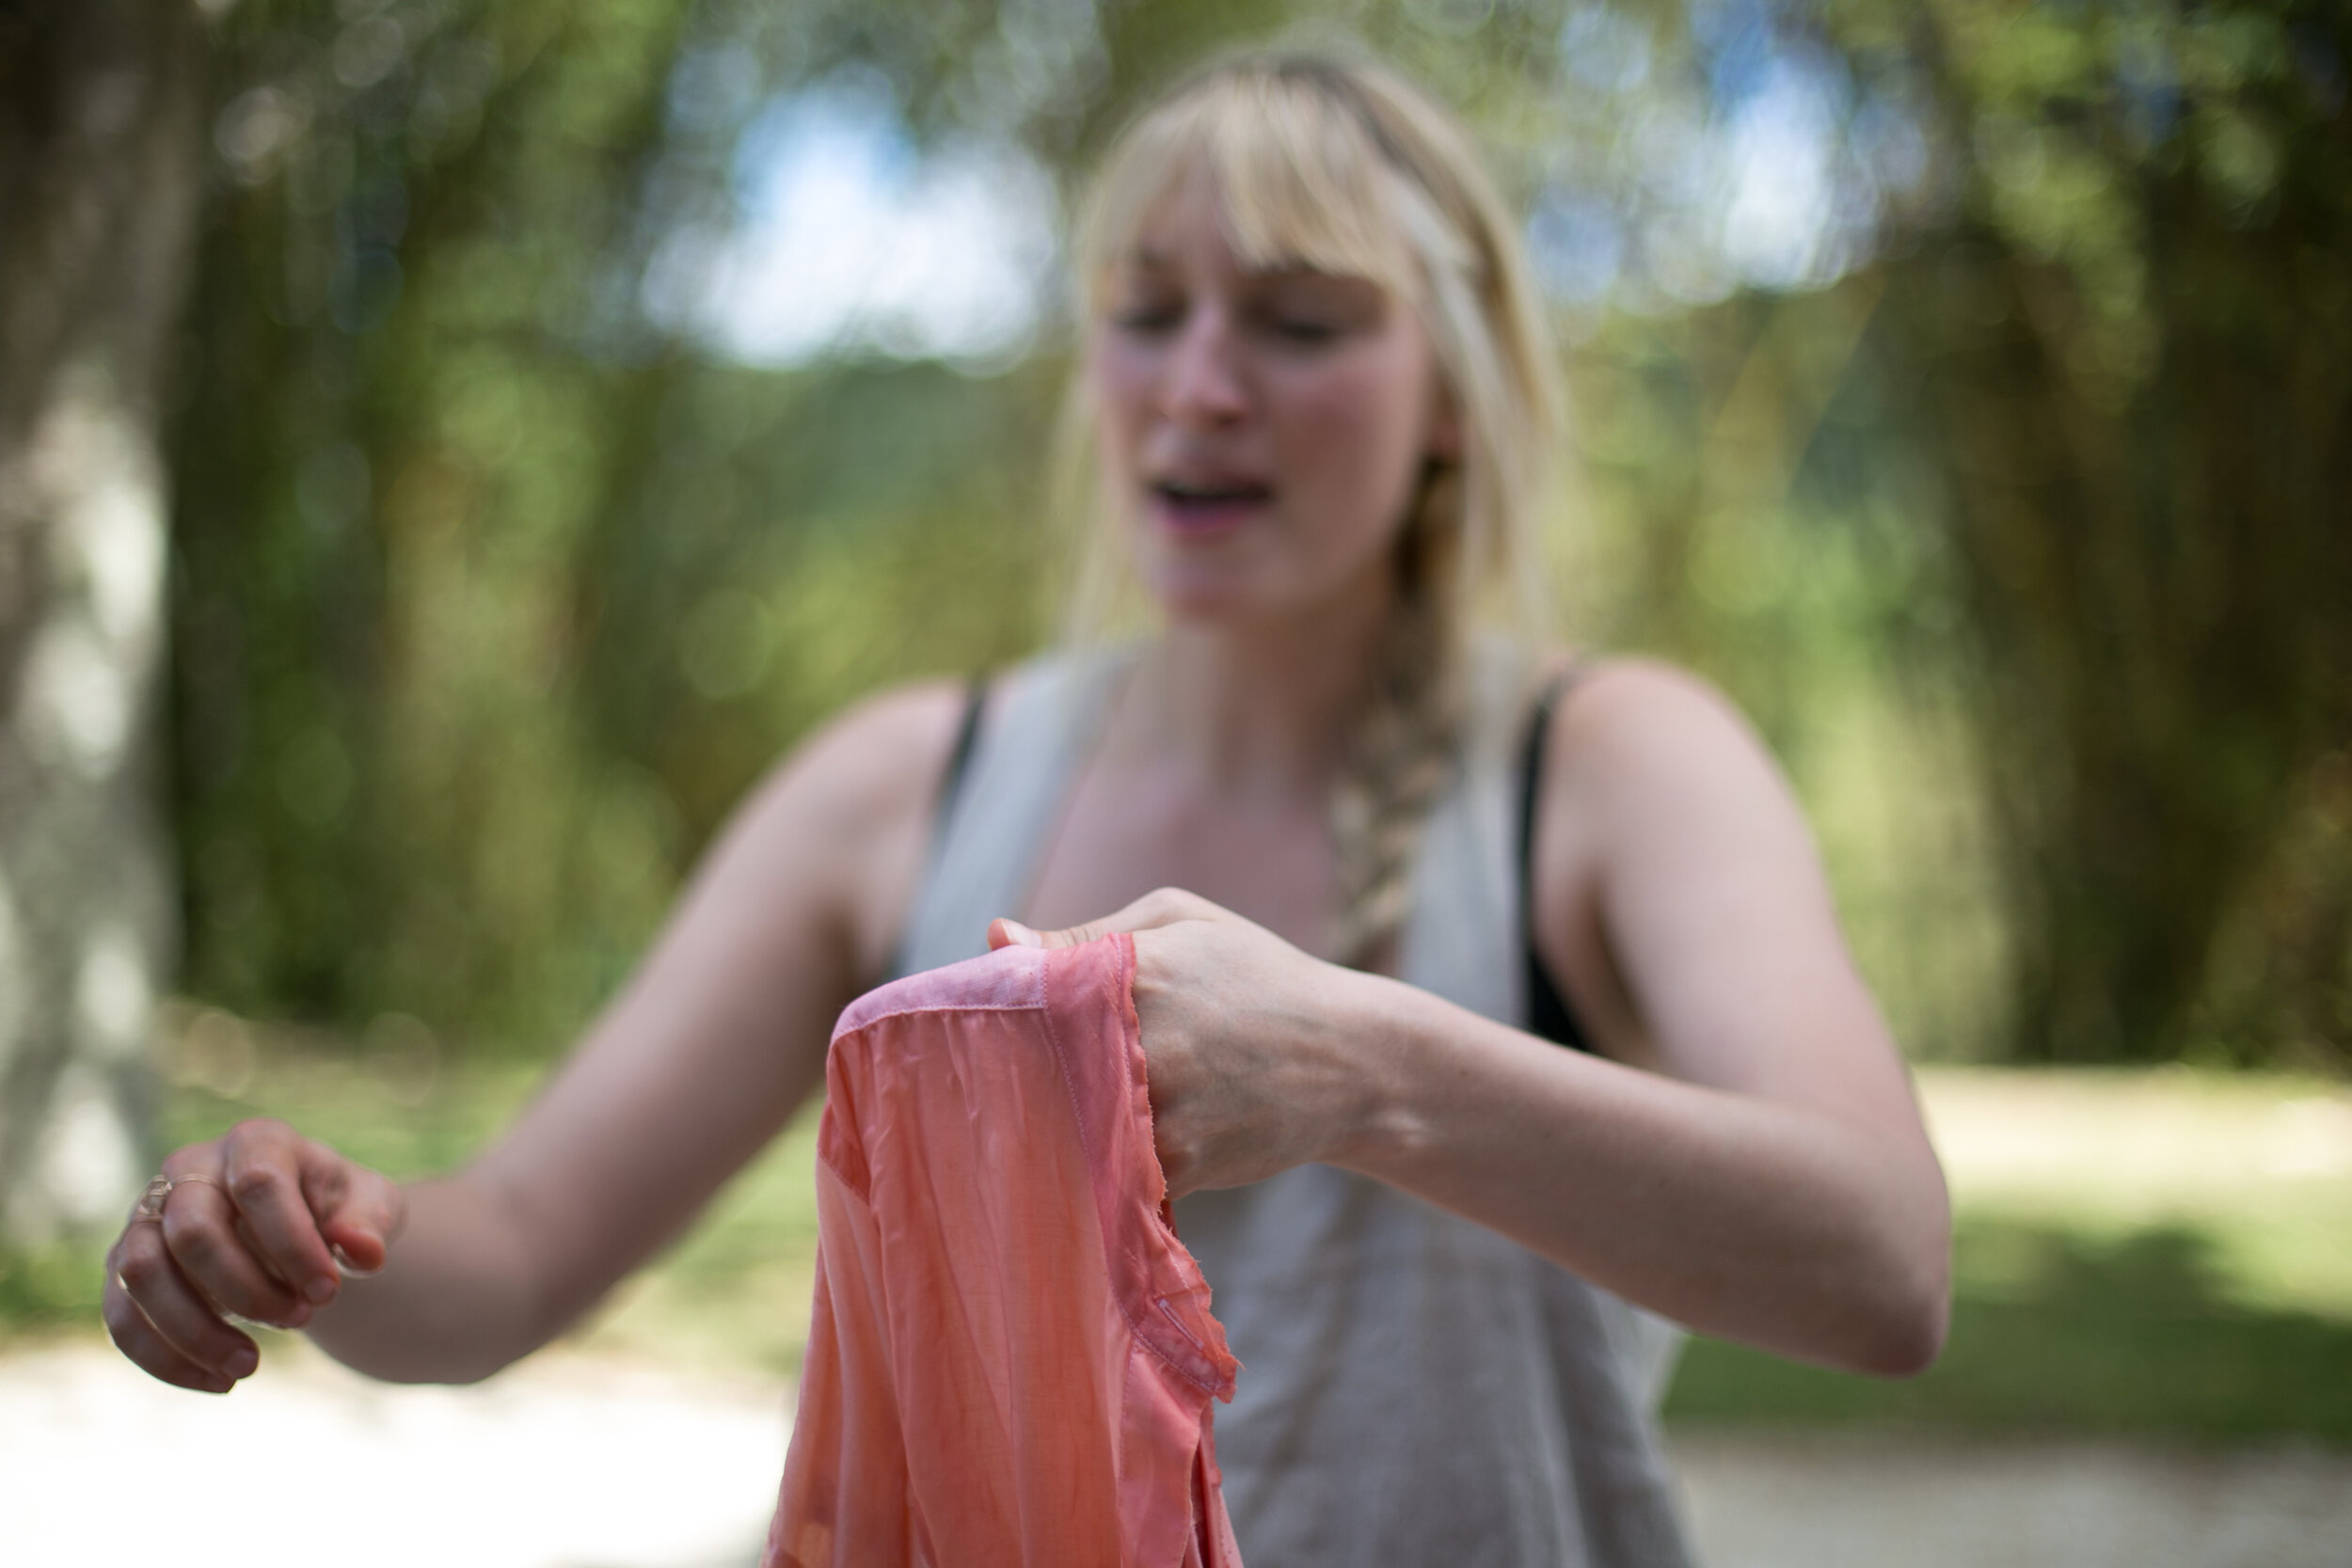
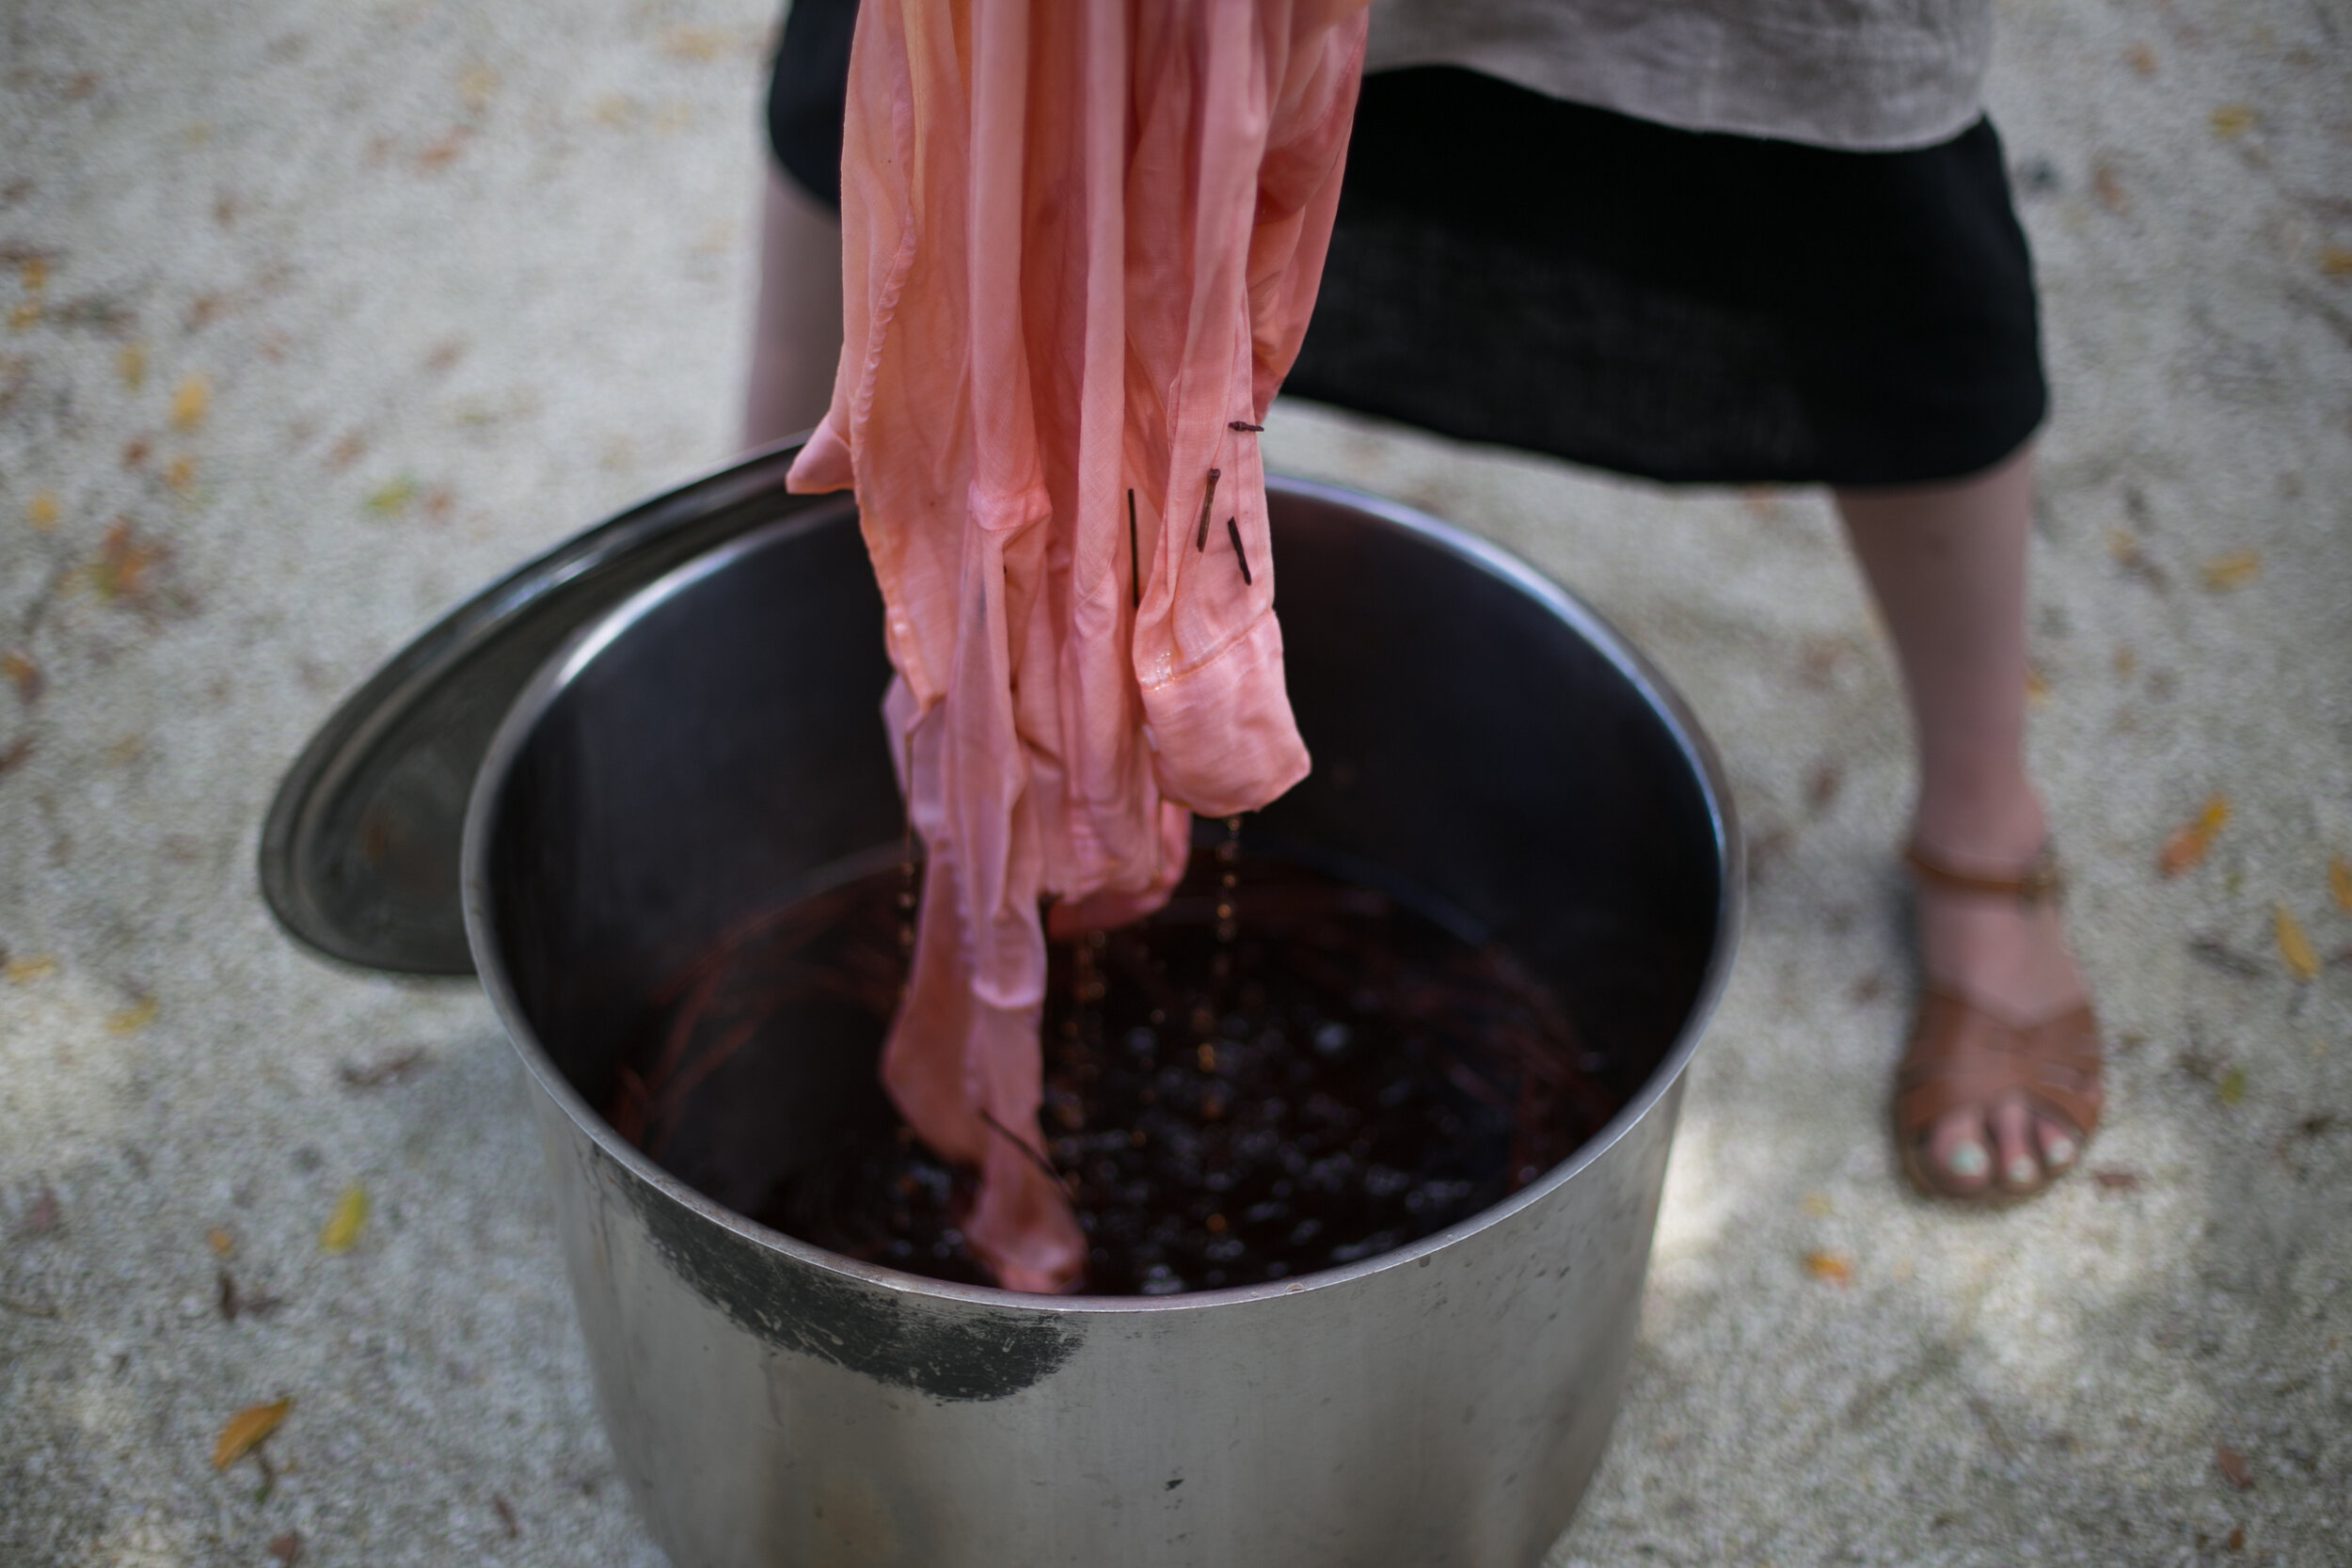
Natural Dyeing - its so easy and so much fun
The shirt below is dyed with madder root twigs to create this beautiful pink tone. The images are from a workshop by Rebekah Seale (pictured)
Try Tea-dyeing
Rachelle Edouard-Betsy (co-founder of @bobbyandrose baby flares) shares her tips for dyeing fabric with tea.
Tea-dyeing is great for clothes, lace, curtains or cushions or refresh baby clothes. If your clothes are too bright white or you just want to tone down a colour, tea dyeing might be your answer: T-shirts works really well and gives them that instant lived-in look and tea dyeing lace can create an authentic shabby chic feel.
You will need:
tea bags,
boiling water,
table salt,
a spatula or wooden spoon
a tub or large bowl _depending on the size of the piece you are dying.
Always do a test first with a small piece of the fabric to judge how long you need to leave it in the tea to get the colour you want. For darker colours you’ll need to add more tea bags. I like to use tea bags because it’s not so messy, but be careful not to bust the bags!
The salt helps the fabric to absorb the colour of the tea when the fibres open up in the hot water. The tub you dye in should preferably be white so you can see the colour changing.

This silk hand crocheted baby set was refreshed using gently tea dying
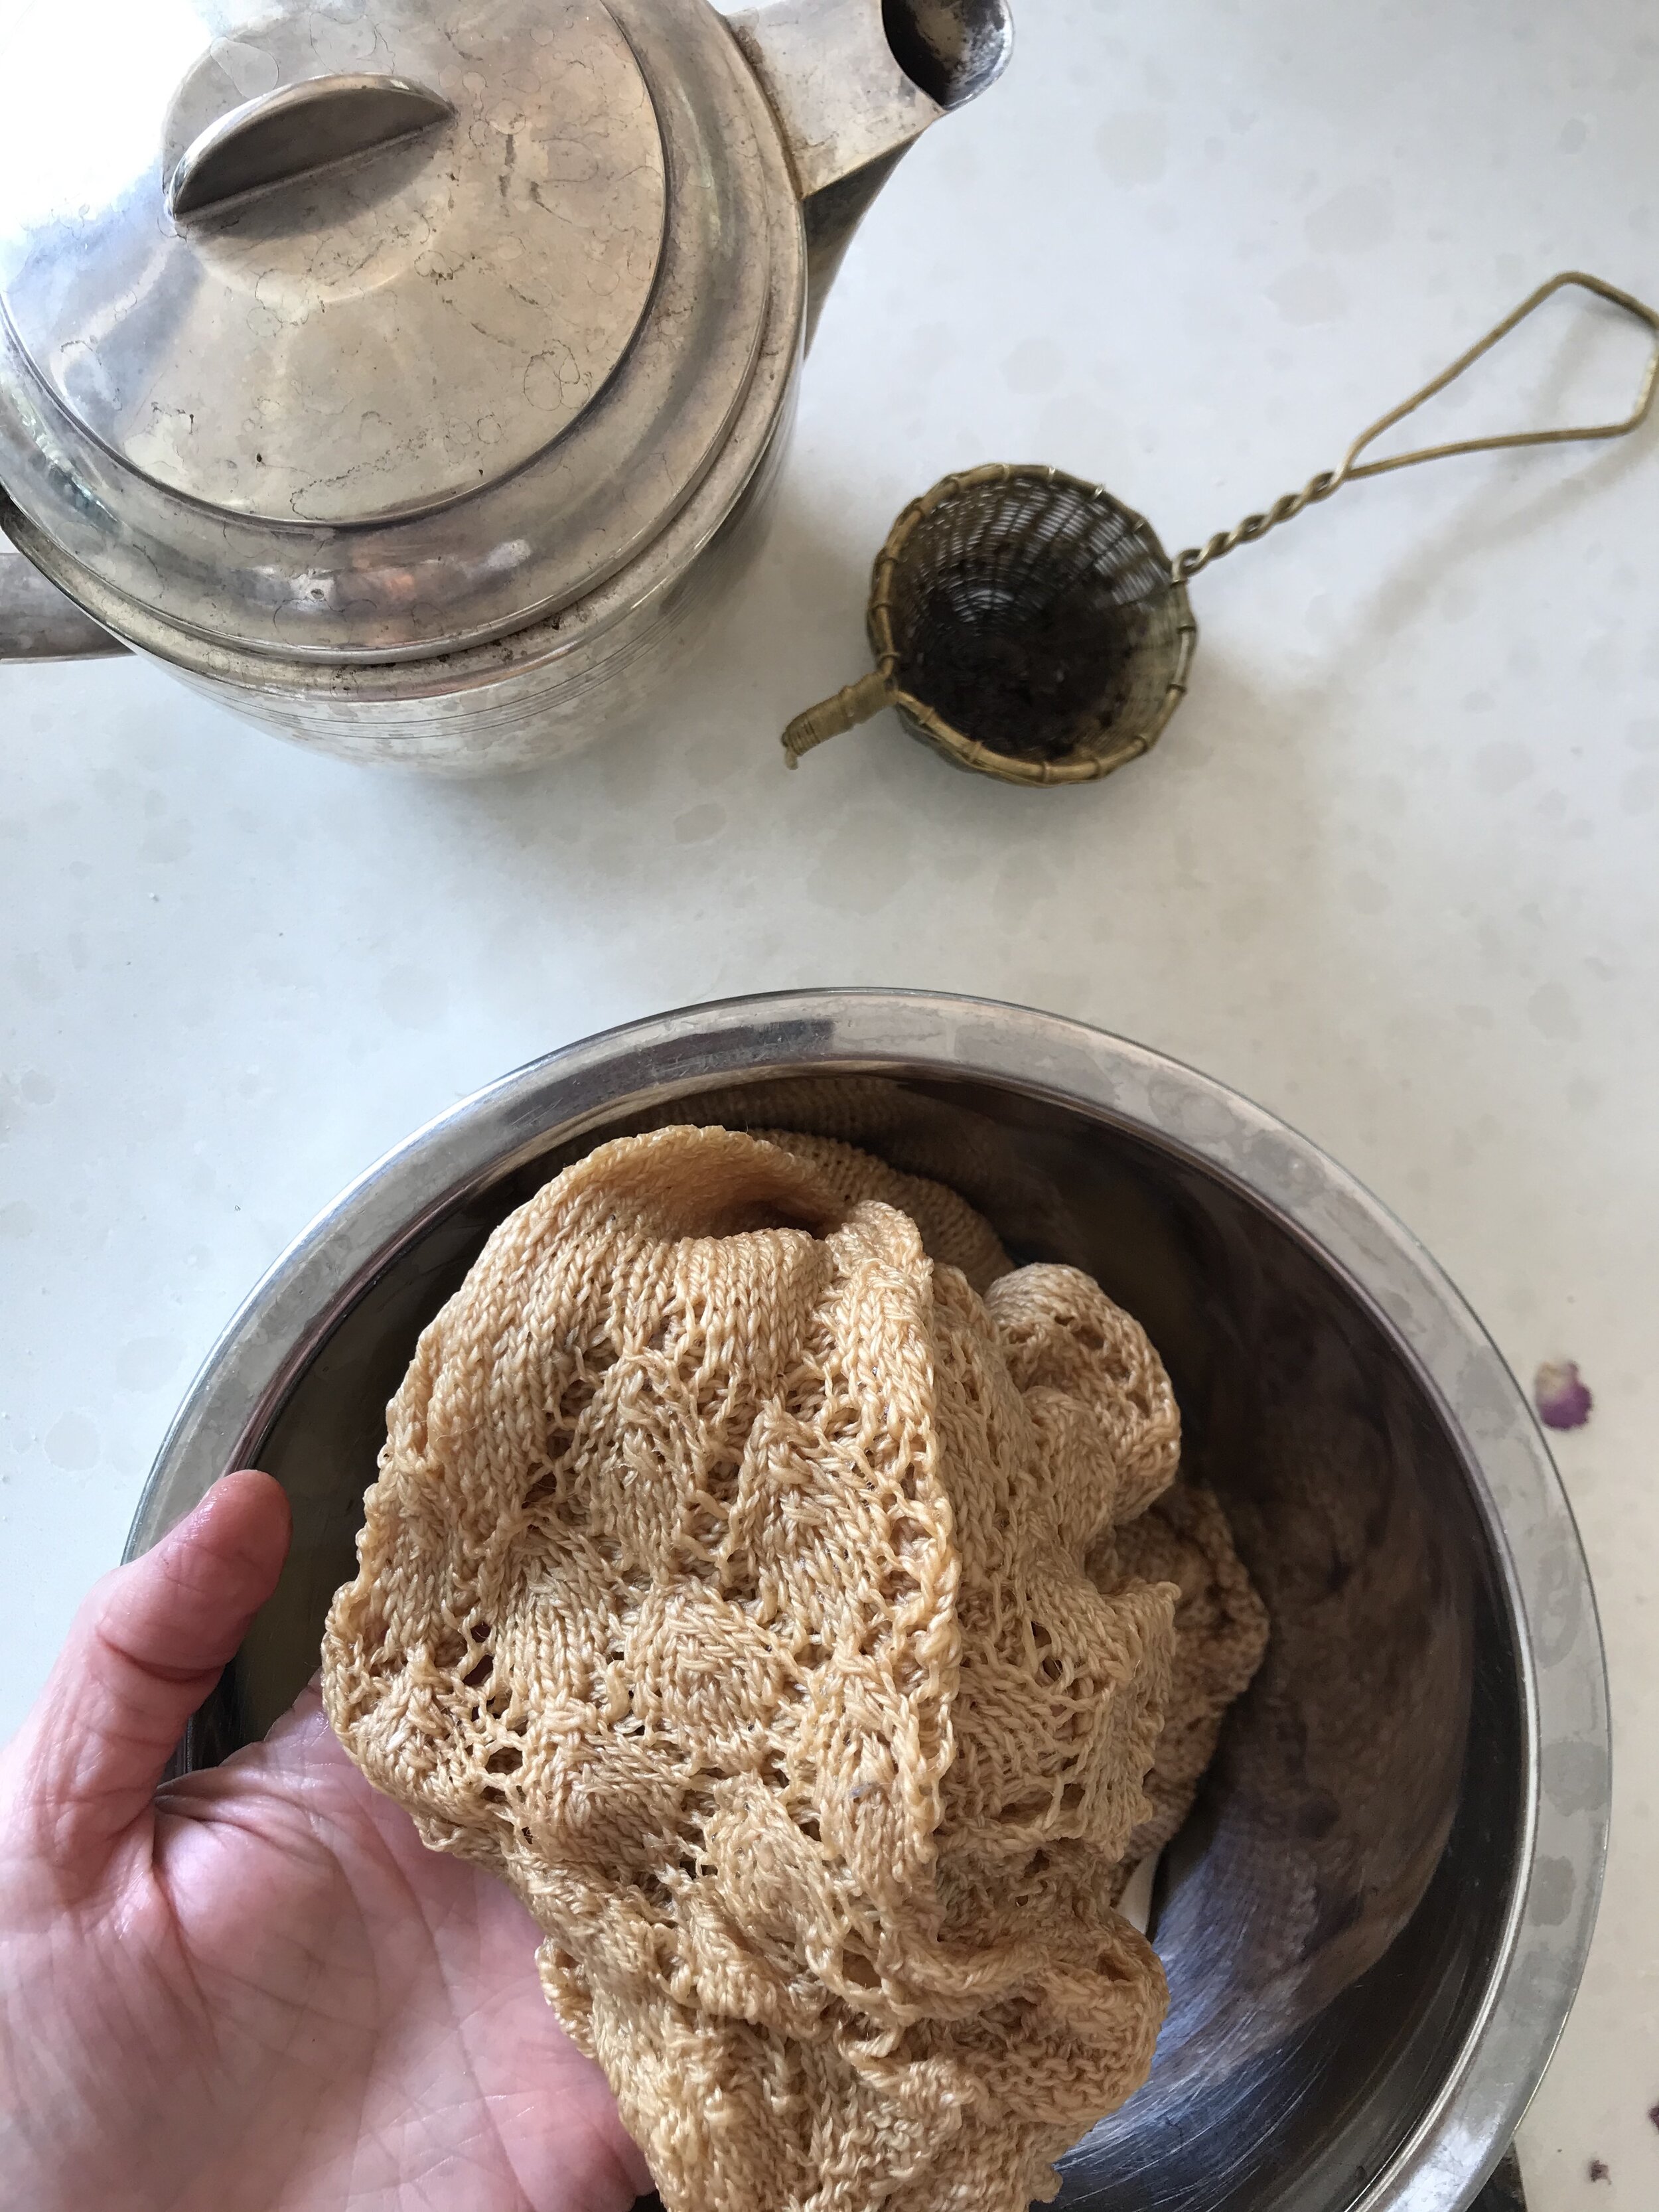
Rather than use tea bags you can use a pot of strongly brewed leaf tea - for smaller pieces.
Instructions
Step 1: Boil 5 cups of water , pour it into the tub and put in 20 tea bags ... like you’re making a big cup of tea!
Step 2: Steep the tea bags for about 10 minutes then add additional hot water from the tap so that the tub is almost full; the garment/fabric needs to be completely covered with water.
Step 3: Add 6 tablespoons of salt and stir until dissolved then take the tea bags out of the water. I’m going to leave the skirt in for an hour before checking how dark it is.
Step 4: Gently put the garment/fabric in the tea mixture and make sure it is submerged in the water. Move the fabric around in the water every 20 minutes until the hour is up. This movement enables the colour to pass through the fabric evenly. If it just sits there stagnant only some parts will pick up the colour and it will come out patchy.
Step 5: When the hour is up, check the fabric and its colour. If you want it darker, leave in until it’s the colour you wants. When it’s as dark as you want it pull the fabric out and run under cold water until the water runs clear. (Remember it will lose colour when doing this, so allow a little darker for colour run.)
Step 6: Leave to dry. I like to dry it flat so that the colour doesn’t run, but if you don’t have the floor space, hang it up so there are no folds.
After Care Instructions
To take care of your tea-dyed fabric or garment it’s best to hand wash as washing with detergents will take the colour out.
Tea-dyed fabric will gradually lose its colour over time as this is a staining technique, but this should take quite a while to happen.
Tea dyeing can create a great range of colours – from a light sand colour to a darker pinkish brown tone depending on how long you leave the fabric in the tea.
want to know more about natural dyeing?
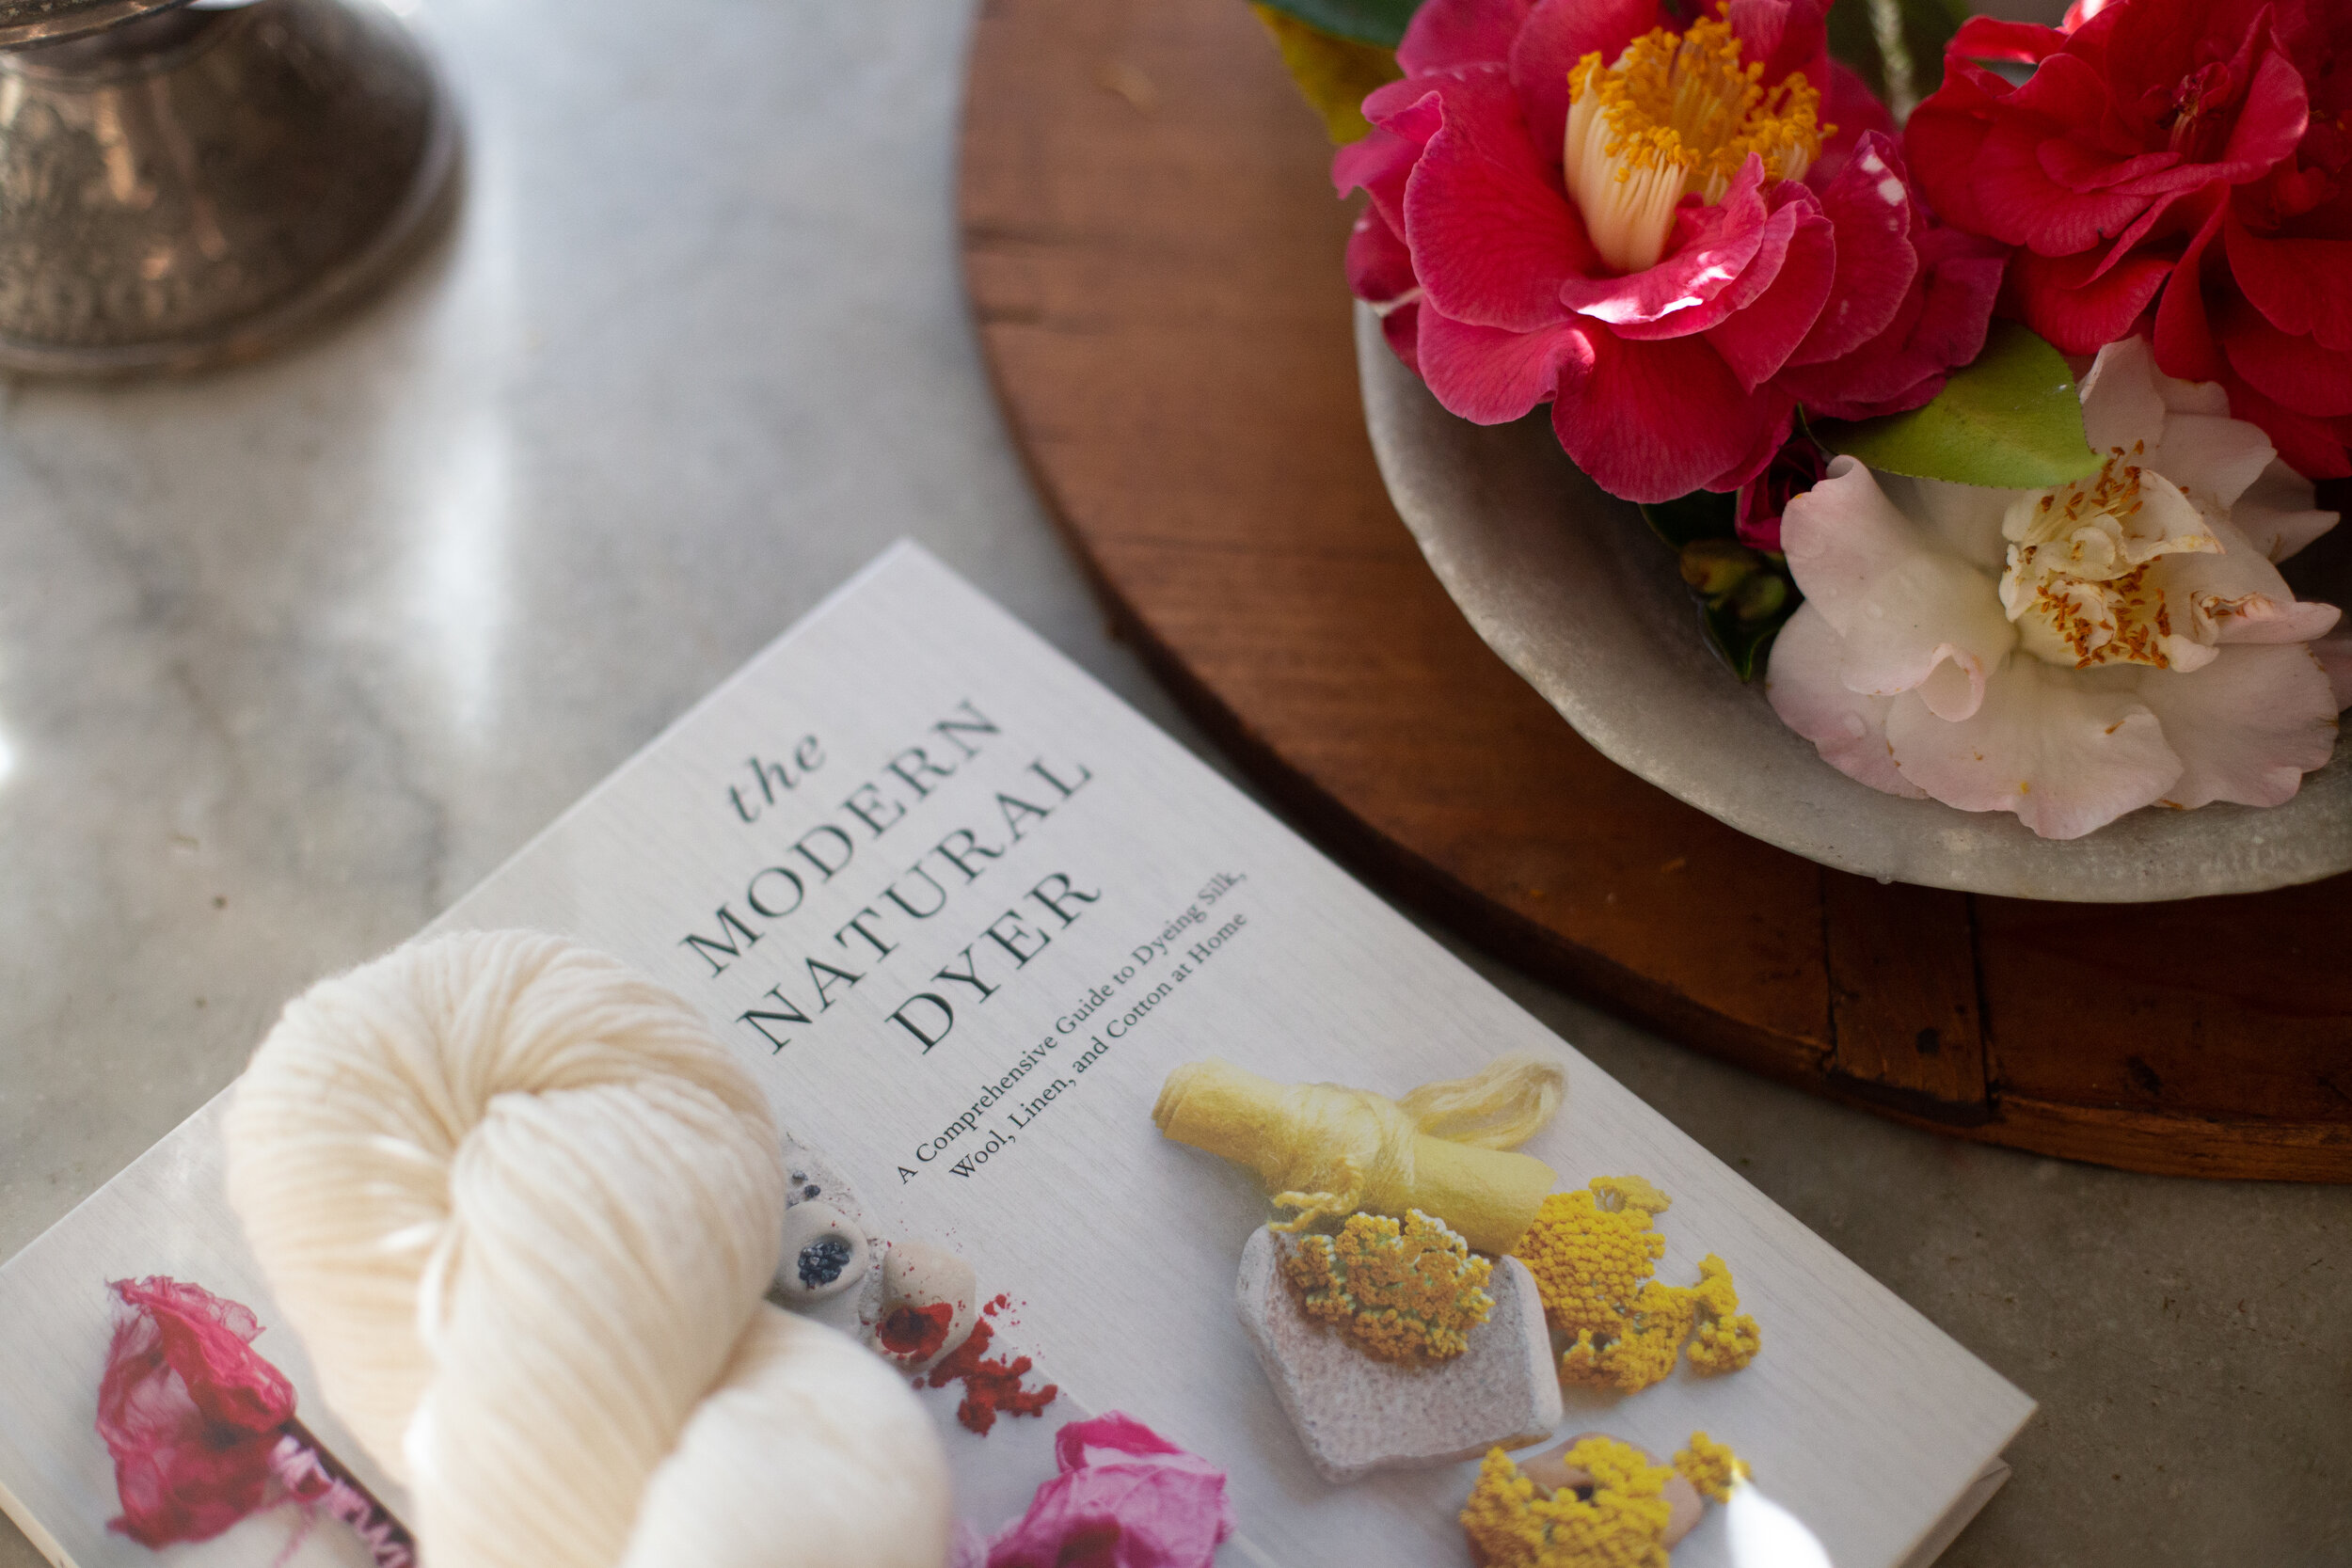
This book is a wonderful addition if you would like to know more about natural dying : The Modern Natural Dyer A Comprehensive Guide to Dyeing Silk, Wool, Linen, and Cotton at Home By: Kristine Vejar,