Taking your picnics to the next level - rustic apple tarts, fruits cake and more
Finding mums’ craft journal
When mum passed away I became the keeper of her recipe book and also her big crafty scrapbook filled with cut paper patterns and newspaper clippings covering everything from puppet shows to knitted animals, skirts, pants and baby clothes. She won beauty contests on the Gold Coast in the 50’s - and her and her girlfriends would sew their own simple beach clothes to wear on the weekend down at the Palm Beach surf club in Queensland.
Her craft folder is filled with simple sewing projects from these early days to the later years as wife and mother.
I’ve selected one sewing project to share in this Journal: a scone basket. This is surprisingly practical (as it keeps the scones warm and protected) and a joy to use - especially as picnic season is upon us.

Mum photographed for an advertisement for the Gold Coast - she was 16 years old

Mums craft book is a collection of scraps of scribbled bits of paper and newspaper cuttings pushed into an old ring binder
Take your picnic to the next level
MAKERS PROJECT: Sewing a scone basket
This is such a great way to transport fresh baked muffins or scones of buns and when you arrive at your location it flattens out as a base to serve them - perfect for a car boot picnic!
This pattern makes a basket that fits 10 large scones in its pockets: 4 pockets in each of the two layers and space for two in the centre.

I still use Mum’s original scone basket, sewn in red gingham

I’ve added sea shells to the end of the ties - but you could also add a bead
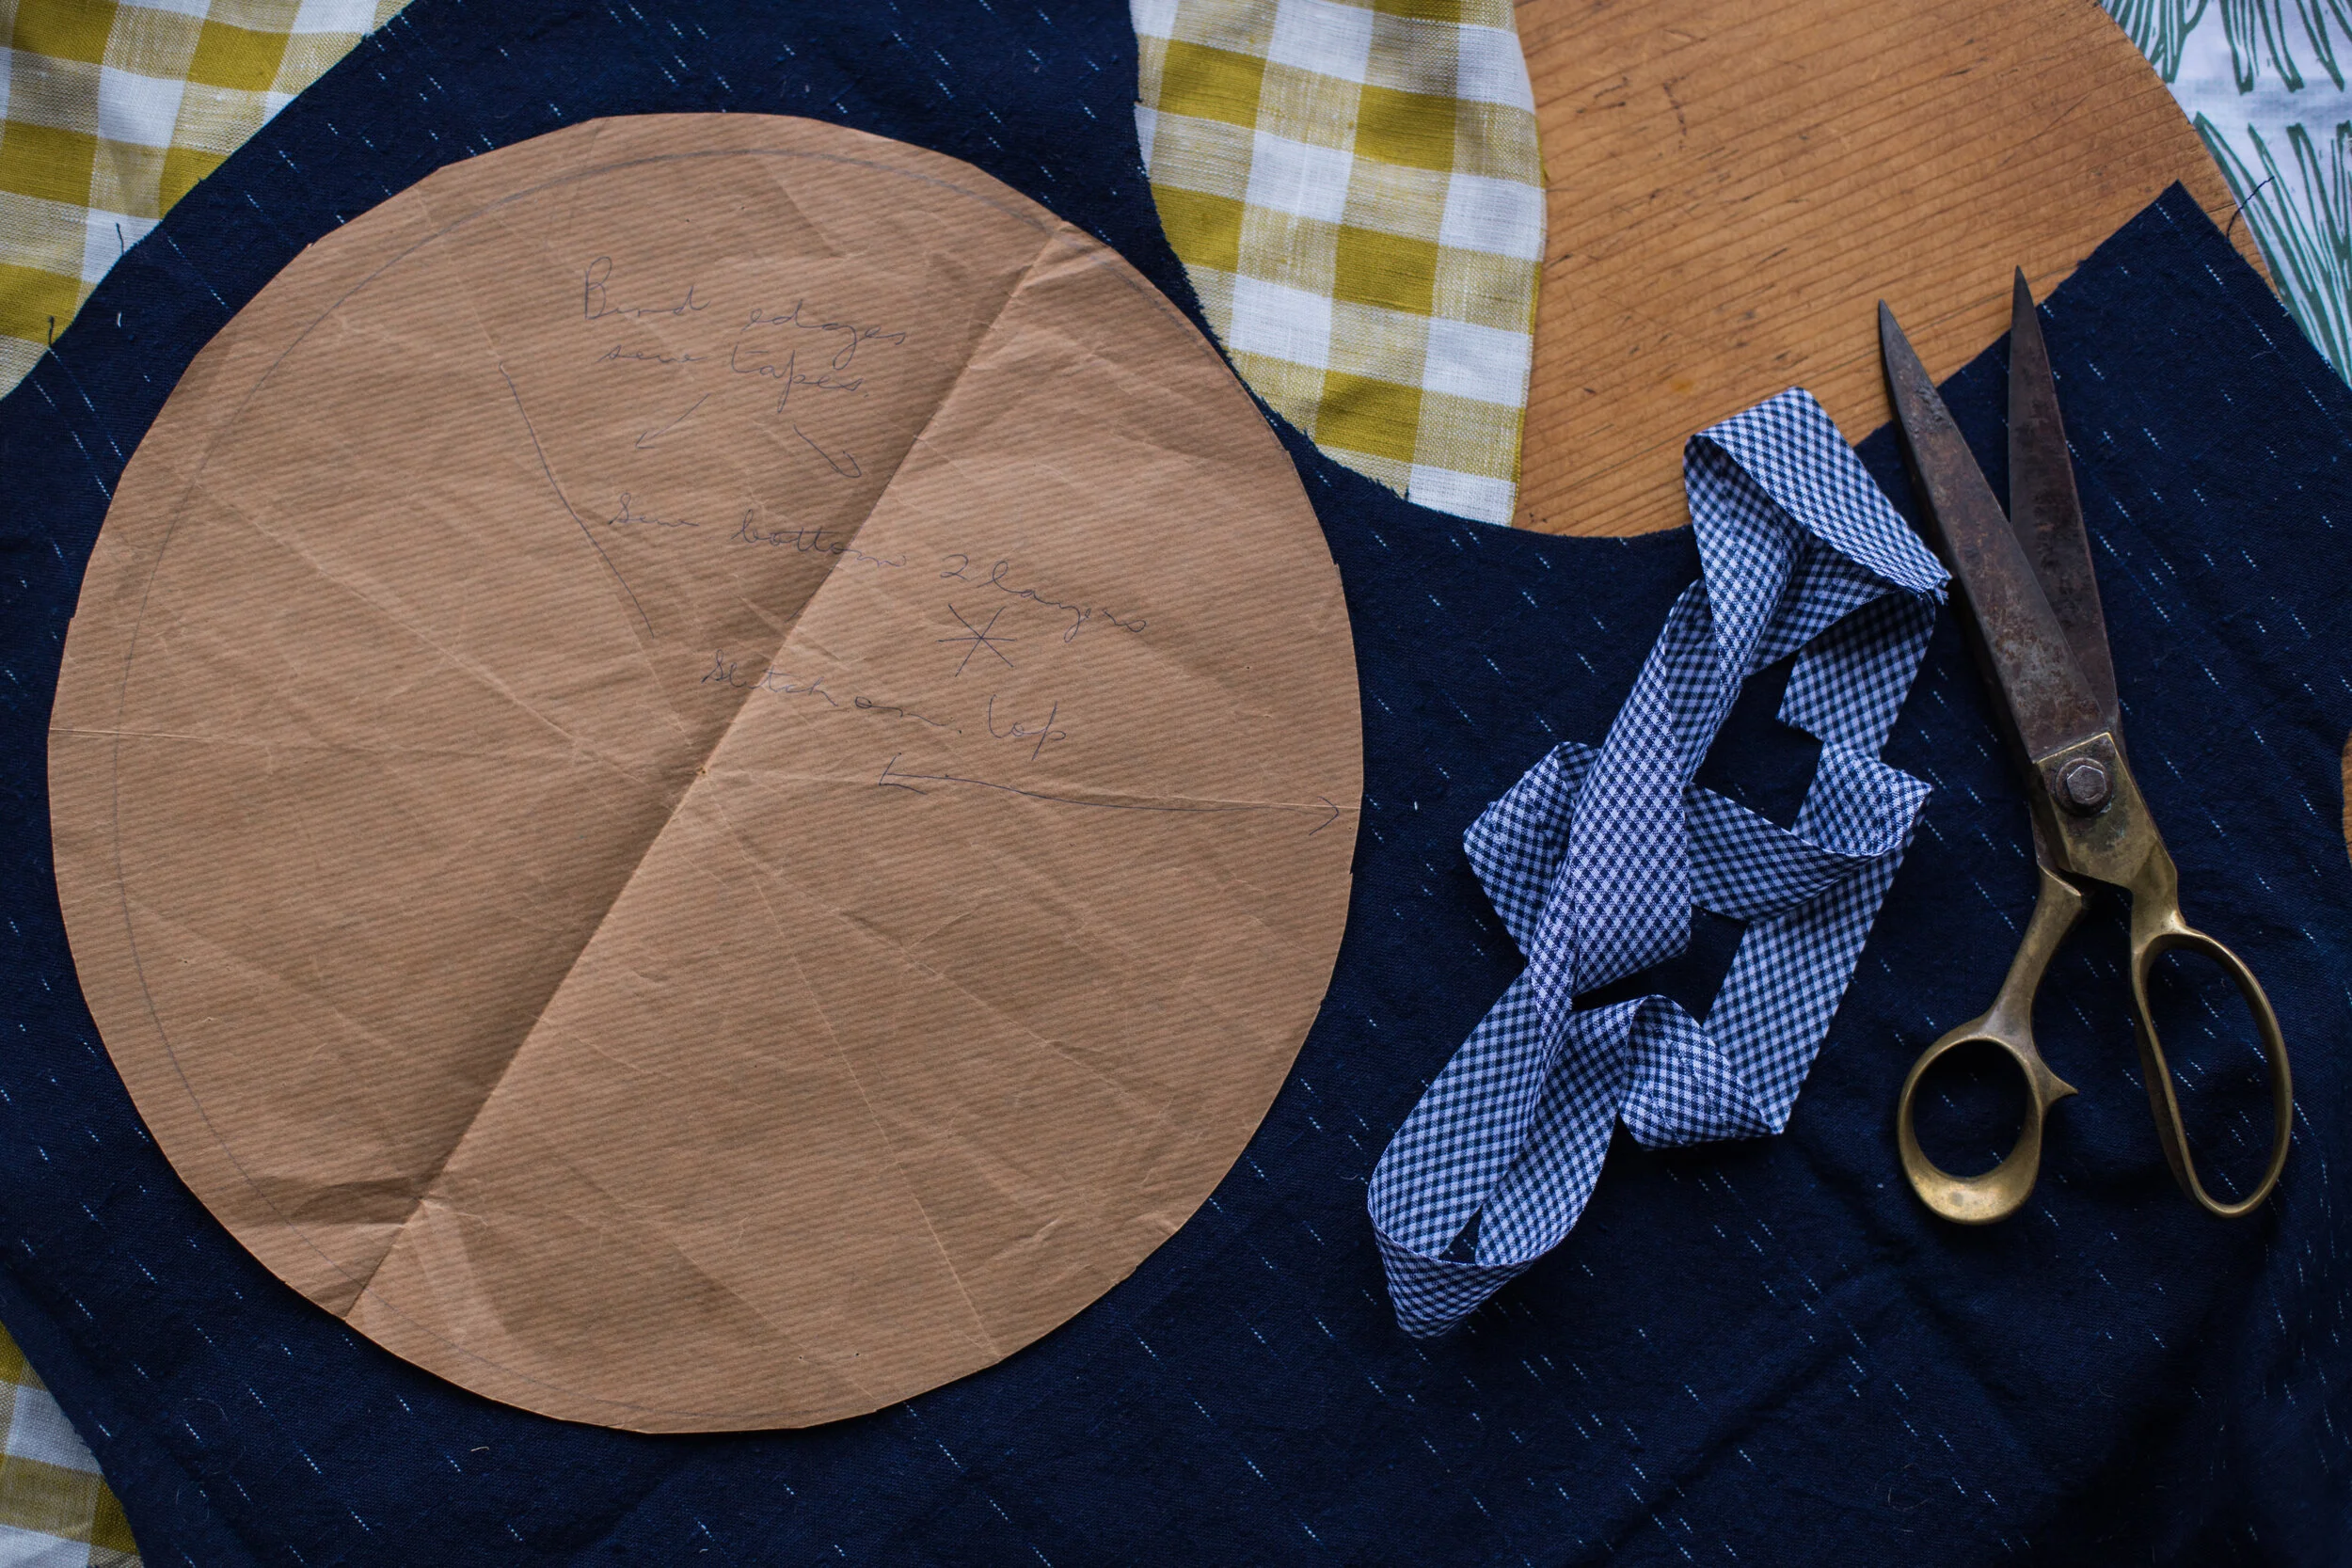
Mums paper pattern with her written instructions showing the geometry of the stitching which cleverly stitches alternate layers of circle to achieve a concertina of pockets - this was found in her craft book.
Materials
You will need:
A cardboard template of a circle - diameter approx 29 cm. or you might have a large saucepan lid which is close to this size which you can use as a cutting template.
Cut out 3 circles of fabric all the same size or 6 circles depending on your fabric thickness; three circles if the fabric is thick and 6 if the fabric is thin because you can double up the layers
1.5 metres of bias binding to sew across the circles to create the ties
3 metres of bias binding to sew around all the edges of the three circles
Instructions


Misty sunrise from the headland above Avalon Beach - everyday the sea and sky are different - endlessly inspiring and its such a treat to pause and feel the morning unfold this way. We love a breakfast picnic here often just simple blueberries and strawberries with fresh yogurt and coffee from the Classic Coffee Van
HOME BAKER RECIPES
Rustic Apple Picnic Pastries
I’ve adapted this simple recipe from Nadine Ingram’s Fine Apple Tart in her wonderful book “Flour and Stone”

The Recipe
Preparing the pastry:
1 packet of Careme All Butter Puff Pastry (I use this brand but any frozen puff pastry will do)
Using a large circle cutter (or jar lid) cut out three large circles and 4 rectangles out of the pastry sheet - or whatever shapes you want !
For the round shapes - cut strips of pastry from along the edges and twist roudn and around like a rope then place them around the circles, pressing down to ensure they stick.
For the rectangular shapes - score inside the edges about 1 cm with the back of a knife - be careful not to cut through.
Place the pastry bases on a sheet of baking paper and prick the bottom with a fork

Preparing the apples:
You will need 3 apples for oen sheet puff pastry. Peel, core and thinly slice (about 2 mm thickness) the apples.
Then toss them all in a pan on low- medium heat with 15 gms melted butter, 1 teaspoon of cinnamon until well covered.
Squeeze a little lemon over the top of the apples to prevent browning . Set aside
Preparing the almond filling:
Mix together
50 gms almond meal
50 gms soft unsalted butter
50 gms sugar
lightly beaten 1 egg
Preparing the brushing mix:
You will need
80 gms caster sugar
60 gms really soft unsalted butter
Bringing it all together
Spread the filling over each pastry shape - for the rectangles stay withing the score mark which you made around the edges. Then arrange the prepared apples in an overlapping fashion over the pastry shapes, push down so they fit snuggly.
Brush with the the really soft, almost melted butter. Then sprinkle liberally all over with sugar.
Place the pastries in preheated hot oven (220 degrees C) and then once the oven door is closed reduce the temperature down to 200 degrees C and bake for for 25-30 minutes until the pastries is cooked underneath
Remove and cool to room temperature then serve - wonderful with maple-syrup-flavoured whipped cream or vanilla ice cream.


A NO-WASTE TIP:
MAKING APPLE DUST
Don’t through away your apples skins from the rustic apple tarts recipe - dry them in the sun or on a very low temperature in the oven. Then grind them in a coffee or spice grinder till they make “apple dust”. I store my apple dust in a jar and sprinkle it over cakes, biscuits or desserts.

Ma Blease’s Fruit Loaf

Tea-soaked dried fruit - a delicious tweek to this simple fruit loaf
I found this recipe typed up and slid into mum’s recipe book - apart from soaking the fruit overnight … its very quick to make
Ingredients
Make up a pot of strong tea
1 cup sultanas
1 cup currants or jumbo raisins
3/4 cup sugar
3/4 cup walnuts - ( I used Hickson Pecan pieces)
1 lightly beaten egg
2 cups SR flour
you can also add chai spices to the flour if you like (thanks @sallyfrawley)
Instructions
Place the dried fruit in a bowl. Make a strong pot of tea. Pour the tea over the fruit till covered. Leave to soak overnight.
Next day mix together the flour and sugar in a large bowl the add the fruit/tea mix then the egg and then the walnuts and mix well - a wooden spoon is fine for this.
Place in greased loaf tin ( I have two small loaf tins which I use) and cook 200° C for approx 45 hour. Test cake and if lightly doughy at the top, it will be lovely.
Best eaten warm or it can be kept longer and toasted with butter or honey.


Our online shop: Feature Product
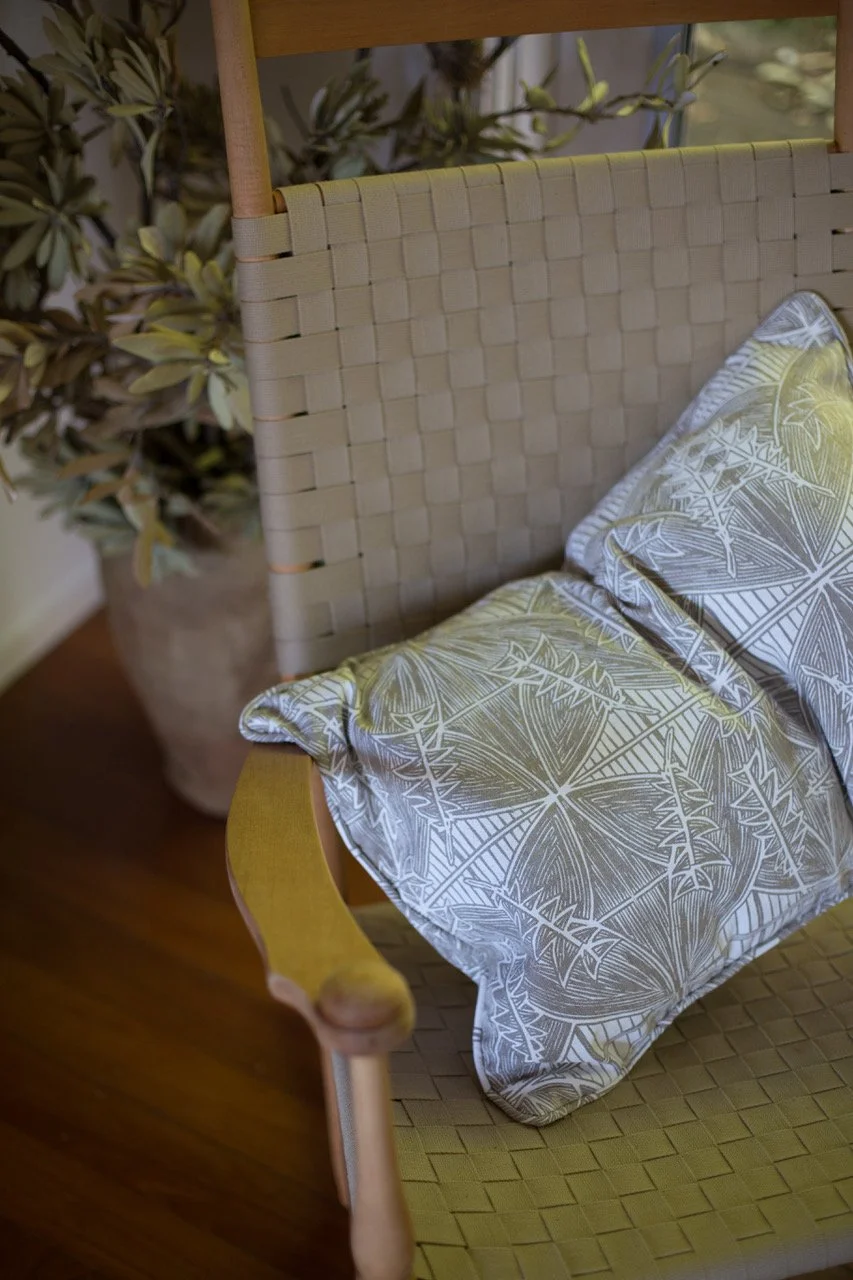
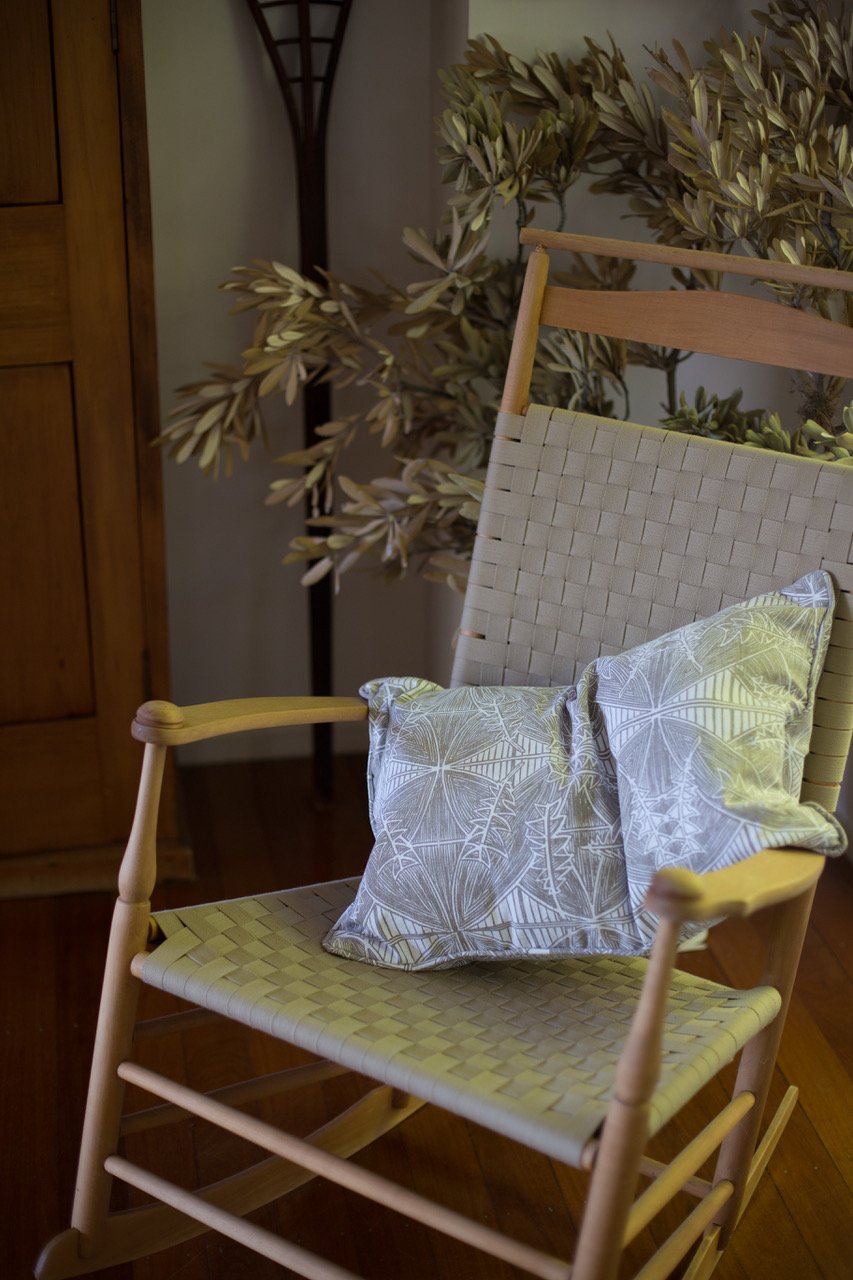
Banksio feature cushion - white on Italian linen
Read the background story to this signature fabric design here